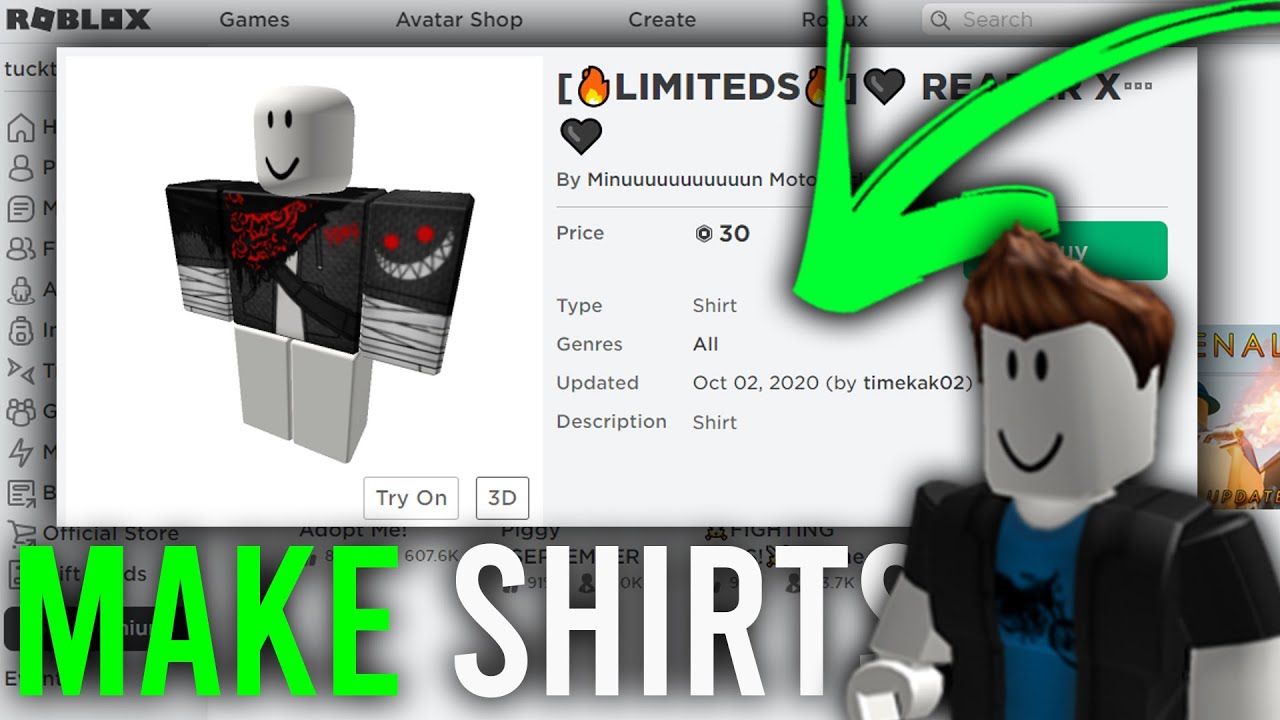
Roblox allows users to customize their avatars in various ways, including by creating unique shirts. If you want to design a personalized shirt for your character or even sell custom clothing in the Roblox marketplace, this guide will walk you through the entire process. Follow these steps to create and upload your own Roblox shirt.
Requirements for Making a Roblox Shirt
Before you begin, ensure you have the following:
- A Roblox account with Roblox Premium (required for selling shirts).
- Access to Roblox Studio and the Avatar Editor.
- An image editing software such as Photoshop, GIMP, or Paint.NET.
- The official Roblox shirt template, which can be downloaded from the Roblox website.
Step 1: Download the Roblox Shirt Template
Roblox provides a standard template to help users create shirts that properly fit their avatars. To download it:
- Go to the Roblox website.
- Click on Create in the top menu.
- Select Manage My Experiences to open the Creator Dashboard.
- Click on Shirts under the Creations section.
- You will find the template link; right-click and download the image.
Step 2: Open the Template in an Image Editor
Once you have the template, open it in an image editing software such as Photoshop or GIMP. The template consists of different sections that represent various parts of the Roblox avatar:
- Front, back, left, and right sides of the torso.
- Upper and lower sections of the sleeves.
Understanding these sections will help you design a shirt that wraps correctly around the avatar’s body.
Step 3: Design Your Shirt
Now, it’s time to get creative! Follow these steps to customize your shirt:
- Use layers: Work with different layers in your image editor so you can make changes without affecting the base template.
- Color and texture: Choose a base color or texture for your shirt.
- Add logos or patterns: You can add logos, symbols, or cool designs by placing them in the front and back sections of the template.
- Use transparency: If you want a see-through section, ensure the area is transparent (PNG format supports transparency).
- Align your design: Keep an eye on how each section connects to ensure a smooth wraparound effect.
Step 4: Save the Shirt Design
Once you’re satisfied with your design:
- Save the file in PNG format to retain transparency.
- Ensure the image dimensions match the original template.
Step 5: Upload Your Shirt to Roblox
To upload your shirt, follow these steps:
- Go to the Roblox website and log in.
- Click on Create and select Manage My Experiences.
- Under the Creations tab, select Shirts.
- Click Choose File and upload your PNG file.
- Enter a name for your shirt and click Upload.
Step 6: Configure and Sell Your Shirt
If you have Roblox Premium, you can sell your shirt for Robux:
- Go to Create > Shirts and find your uploaded design.
- Click on the gear icon next to your shirt.
- Select Configure, then go to Sales.
- Toggle Item for Sale and set a price in Robux.
- Click Save to list your shirt in the marketplace.
Tips for Making a Great Roblox Shirt
- Use high-quality images to make your design stand out.
- Test your shirt in Roblox Studio to see how it fits on an avatar.
- Avoid copyright violations—use original artwork or royalty-free images.
- Promote your shirts in Roblox groups and social media to gain more buyers.
Frequently Asked Questions (FAQ)
1. Do I need Roblox Premium to make a shirt?
No, you do not need Roblox Premium to create a shirt, but you do need it if you want to sell shirts in the marketplace.
2. How much does it cost to upload a shirt?
Uploading a shirt costs 10 Robux as of the latest Roblox policy.
3. Why is my shirt not appearing after upload?
Your shirt may be pending moderation. Roblox reviews uploaded assets to ensure they comply with the community guidelines.
4. Can I make a free shirt for my friends?
Currently, Roblox does not allow free distribution of shirts. However, you can manually transfer Robux to friends so they can purchase it.
5. What are the best dimensions for a Roblox shirt?
The best dimensions are 585 x 559 pixels, which matches the official Roblox template.
6. How can I delete a shirt I uploaded?
You cannot delete a shirt, but you can disable sales by unchecking the “Item for Sale” option in the Configure menu.
7. Can I use copyrighted images in my shirt design?
No, using copyrighted images can lead to moderation actions, including your design being removed or your account facing restrictions.
Conclusion
Creating a Roblox shirt is an exciting and fulfilling way to customize your avatar while also having the potential to earn Robux. By following these simple steps, you can design, upload, and even sell your unique shirts within the Roblox community. Whether you’re making shirts for fun or as a business venture, your creativity has the chance to stand out in the ever-expanding world of Roblox fashion!